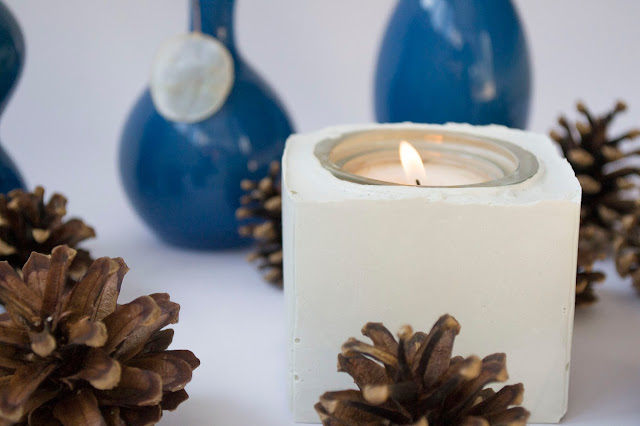
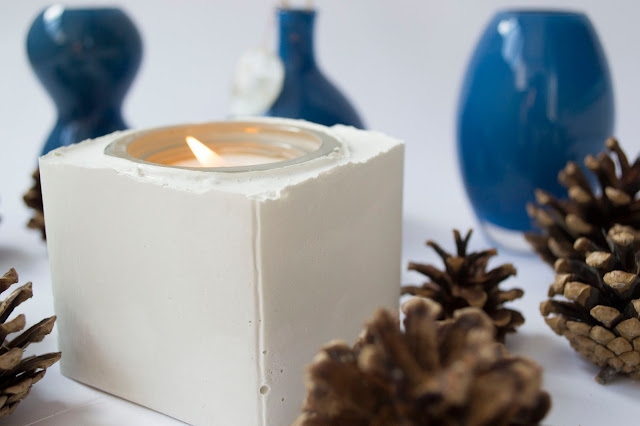
I would love to tell you this DIY was a success, but I can´t. I can’t because although it doesn’t look bad and I am gonna use it quite often, this concrete ‘pot’ or ‘whatever’ project has a dark side.
A couple of months ago I saw an ashtray made of concrete
at Zara Home and I thought of buying it later. However, what happens when you
say you would buy it later? Answer: is always too late. The ashtray disappeared;
I checked the website a zillion times and it happened it never came back. I
have to say at this point, as you can imagine, the one at Zara’s it was waaay
cooler, with a metallic spot on top for the ashes I wasn’t able to reproduce
because, hey…I am not a blacksmith.
Then, as I couldn’t buy it anymore, I decided to make
one. I checked online how the simplest way of doing something similar was.
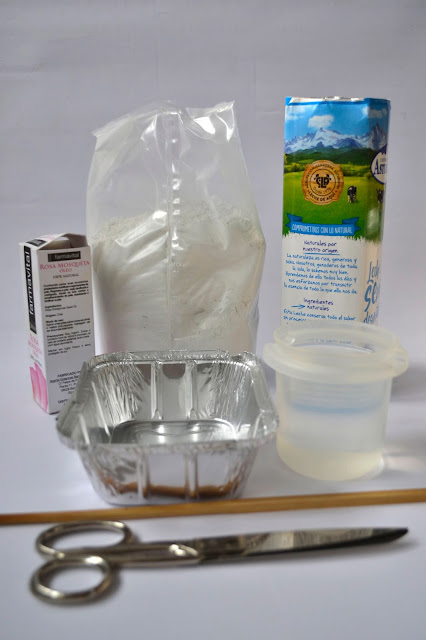
YOU WILL NEED:
Concrete mix
Water
Milk carton
Disposable container for mixing
Stick to stir (I used a chopstick)
Scissors to cut the carton milk
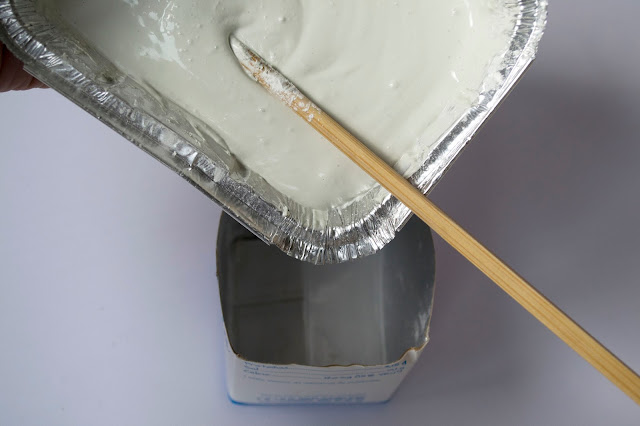
For mixing the concrete with the water, I followed the
instructions in the package, which were 1 part of water with 4 parts of
concrete. I had to add more water because it looked too thick. At the end, it
looked like a cake mix, so I decided to myself that it looked good. I poured
the mix into the milk carton like 1/3 of its capacity. Remember that once you
add the other container in, the mix will rise up. Here is when the dark side
begins: I read that you could use smaller carton milk or something similar to
make the interior shape, but I didn’t have anything similar around my house. Then,
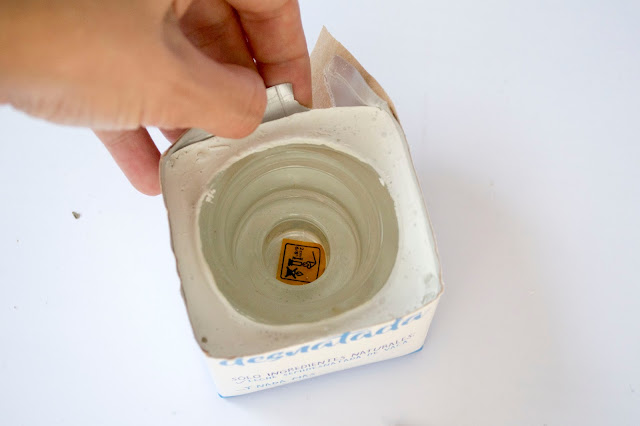
I found the one is in the picture, but something went wrong when I introduced
it in the mix: the concrete started to leak through the carton and it was a
complete mess. I started thinking about what could I use…I wander around the
house and suddenly I found a forgotten glass candleholder that looked perfect.
I thought that, if I grease the glass with oil it would be easier to take it
out later. It didn’t work. Like…at all. I still think it’s a good idea though.
Maybe with carton would have worked.
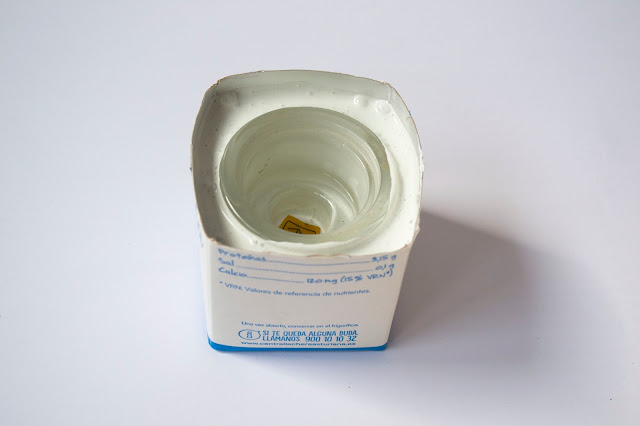
When the carton milk was filled and the smaller one was on its site, I pound the containers a bit to release air bubbles.
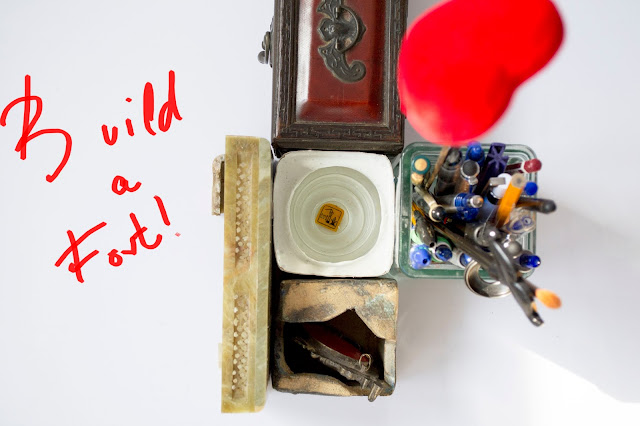
I built a fort, as you can see in the pic, because the
weight of the concrete bent the edges.
In the instructions, it was said that in 3 hours it
should be dry, but it wasn’t. I wait until the next day, when it was completely
solid and…yes, cemented. I peeled the carton; then, I tried to pull out the
glass container. Obviously, I couldn’t, so I decided it didn’t look so bad
(what else could I do?).
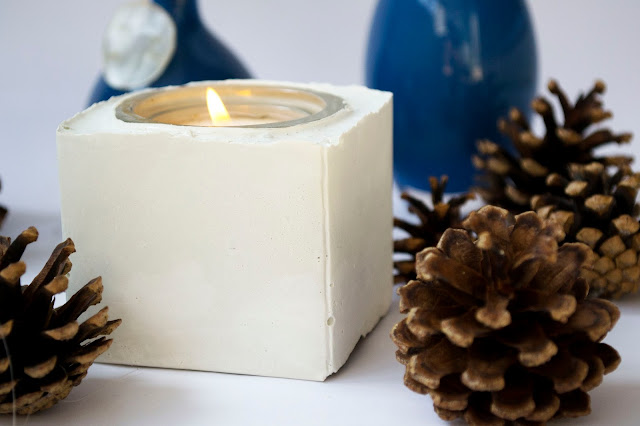
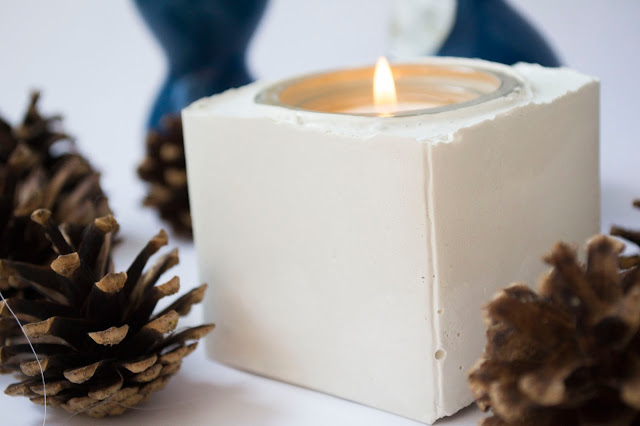
I assumed my defeat against a glass container and faced the reality: adaptation. In fact, having the glass inside the concrete container it wasn’t that bad. Now, if someone wants to use it as an ashtray, it’s ok, because it’s easier to clean; I can use it as a candleholder; I can put some scent oils…
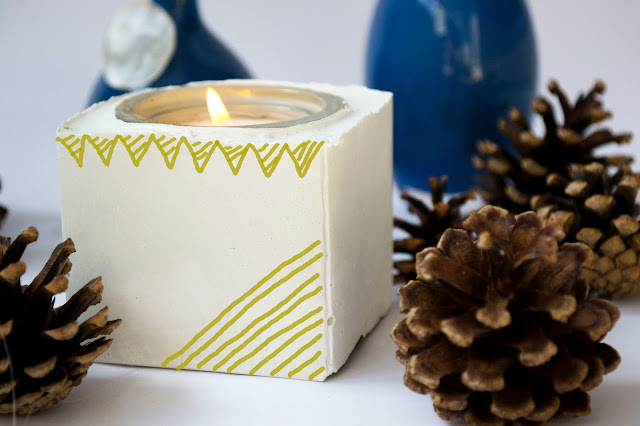
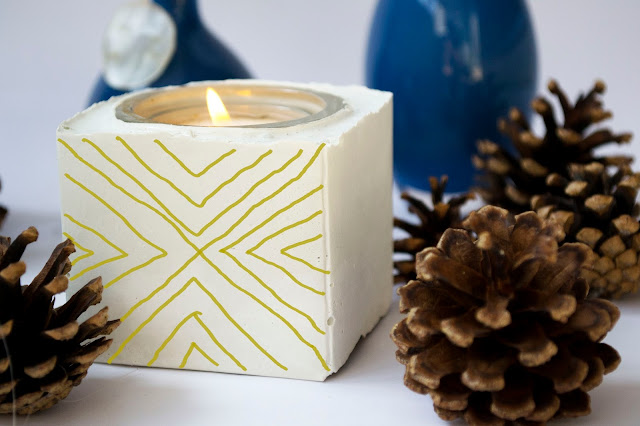
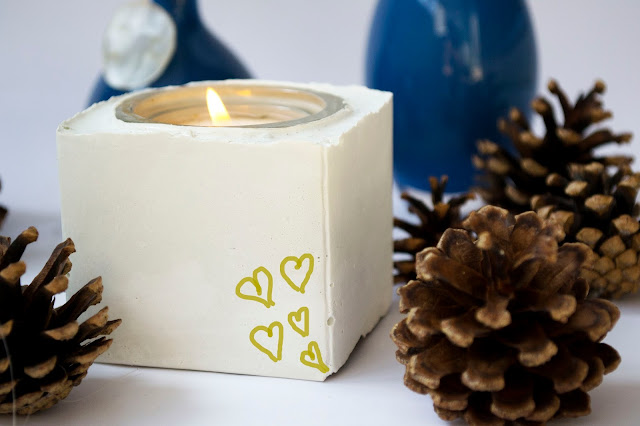
As I had no time to paint it, I tried some design combinations.
I am not very good drawing, but hey, it’s just an idea. Maybe next weekend!
XOXO. Sara
